

 English
 中文简体
中文简体 Español
 日本語
日本語 русский
 عربى
عربى

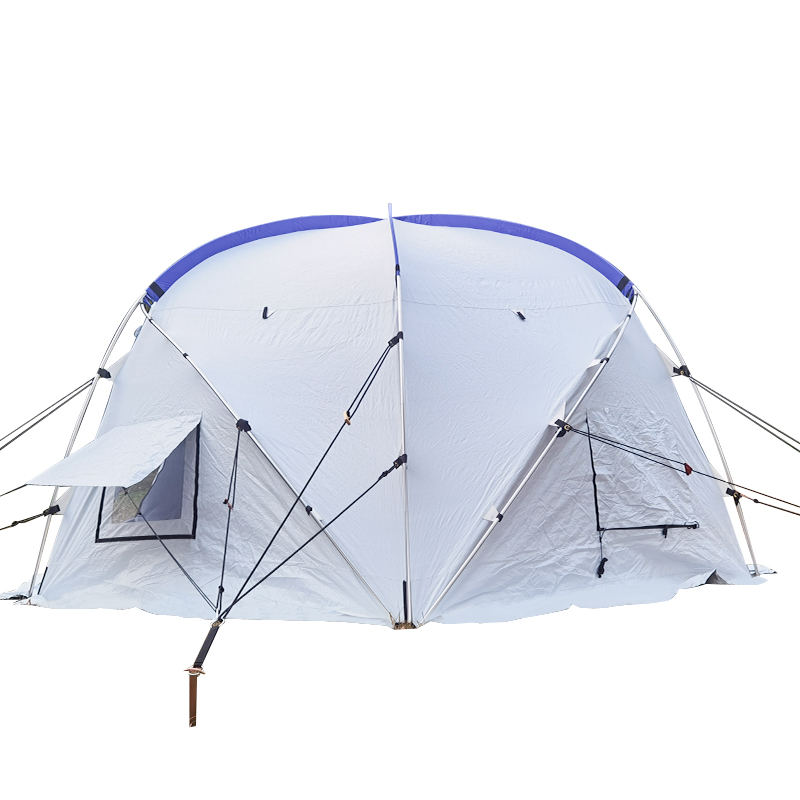


TO SHELTER ALL, TO SMILE ALL.
Our story is about how to uphold the spirit of humanitarianism in the face of disaster, how to find solutions amidst challenges, and how to sow hope in despair.
Content
By the time the sun drops behind the ridge and dew starts settling on the grass, the last thing you want is a tent bag full of tangled poles and a rain fly flapping like a flag. If you have ever stood in front of a heap of fabric and asked yourself how do you put up a tent without a manual, the answer is simpler than you think: the difference between a smooth five-minute pitch and a frustrating thirty-minute struggle is rarely the tent itself, it is almost always the sequence you follow.
Here is the short version first. Every tent, from a lightweight backpacking shelter to a six-person family dome, responds to the same five-step order: unpack and lay flat, assemble the poles, raise the structure, stake the base, then attach the rain fly and guylines. Learn that order once, and you can put up almost any tent on the first try, even a model you have never seen before.
This guide walks through the full process in the practical order campers and crews actually use it: choosing a site, understanding the parts, executing the five-step routine, adapting it to different tent types, and handling the three situations that turn a simple pitch into a test of patience, wind, rain, and a solo setup with nobody to hold the pole. For procurement officers, event rental teams, and retailers who source tents from a factory-direct tent manufacturer and supplier, the same principles explain why some designs are easier to deploy, easier to repack, and cheaper to maintain over hundreds of uses.
Key takeaway: A fixed five-step sequence, unpack, poles, raise, stake, fly, works for nearly every tent type and cuts setup time by more than half for inexperienced campers.
Sunset is not the moment to discover that your site is a low spot collecting runoff. Campsite selection determines eighty percent of setup difficulty, and campers who spend three extra minutes walking the ground save themselves ten minutes of wrestling with stakes on hard, sloping, or root-filled terrain.
Look for the largest reasonably flat area you can find, then check its drainage. A site that looks dry at noon can be a puddle by midnight if it sits in a natural depression. Grass that is noticeably greener than the surrounding area, damp soil under a thin layer of dry leaves, and a visible water path after recent rain are all warning signs. Test the spot by lying down on it if you have to; your hip will tell you more than your eyes.
Face the narrow end of the tent into the prevailing wind whenever the layout allows it, and place the door on the leeward side so gusts do not drive rain into the entrance. If you are camping near a ridge or a lake, pay attention to the direction the wind usually arrives from in the evening rather than the afternoon. A tent pitched side-on to a strong breeze will flap all night, put uneven stress on the poles, and eventually loosen the stakes even when they were driven correctly.
Check the ground for sharp stones, sticks, pinecones, and roots that can puncture the floor, then check the sky for dead branches, loose rocks, or a widowmaker limb hanging over your sleeping area. Look up at power lines and other campers' guy lines, and keep a sensible distance from both. Position the tent far enough from the fire ring and cooking area to avoid sparks and smoke damage, and never pitch in a dry wash or a narrow valley bottom where a storm could send water racing through.
Key takeaway: A flat, well-drained site with the tent's narrow end facing the wind makes every later step easier and keeps you dry through the night.
A tent is a simple machine, but its parts have different names and different jobs. Campers who skip this thirty-second review are the ones who accidentally pitch the rain fly upside down or struggle to find where the poles are supposed to go. Look inside your tent bag and identify each component before you start.
The rain fly is the most misunderstood part of a tent. It is not optional decoration, it is the main weather barrier. If you pitch the inner tent but leave the fly loose, you are essentially sleeping under a mosquito net with no roof. The fly must be pulled taut, with guylines angled away from the tent, so that a gap stays open between the fly and the inner body. That gap is what lets condensation escape instead of dripping on your sleeping bag.
Key takeaway: Identify every component before you start, and remember that the rain fly is your real roof, never skip or rush it.
Once the site is chosen and the parts are sorted, the physical work takes less than fifteen minutes for most tents. The five steps below are deliberately generic so they apply whether you are handling a small dome, a large cabin, a canvas bell tent, or an inflatable shelter. The variations by tent type are covered in the next section.
Spread the tent body on the ground with the door where you want it to face. Smooth out the fabric so there are no folds or bunches under the floor, then place the poles next to their matching sleeves or clips. Confirm that the zippers are partially open so the tent can "breathe" as it goes up; a fully zipped tent traps air and fights you during the raise.
Shock-corded poles usually have color-coded sections or matching marks at the joints. Snap each section together loosely first, then push firmly to seat the connection. Never pull the pole by the cord that runs through it; grip the pole sections themselves. If a pole refuses to seat, check for a slightly bent ferrule or a piece of grit in the joint instead of forcing it.
For a dome tent, insert the first pole through one sleeve or clip it to the corner, bow it gently, and anchor the opposite end. Repeat with the second pole so the two cross above the center. For a tunnel tent, thread the long poles through the sleeves before arching them. For a pole-lite or inflatable tent, this step is replaced by pumping the air beams, but the principle is the same: the structure should stand on its own before you start staking.
Drive the corner stakes first, then the side and back loops. Push each stake into the ground at a 45-degree angle, with the head of the stake pointing away from the tent. The angle matters because a vertical stake pulls out easily under wind load, while a slanted stake holds like a hook. On hard or rocky ground, use a stake that fits the soil, tap gently at first, and if a stake bends, replace it rather than hammering it deeper.
Drape the fly over the frame, matching its corners to the tent corners, and clip or tie it in place. Do not over-tension the first corner; attach all four corners and then tighten them evenly in a circle. Guy lines should be pulled out at an angle of roughly 45 degrees from the fly and staked securely. A properly tensioned fly has no loose panels and no sagging pockets where water can collect.
Key takeaway: Stake at 45 degrees, tension the fly evenly corner by corner, and angle guylines away from the tent for maximum stability.
Setup time is the metric that separates a relaxed weekend pitch from a professional field deployment.
First-timers usually overestimate the effort a well-designed tent requires, while experienced campers tend to underestimate what a beginner faces.
The chart below summarizes realistic first-time setup times for the most common tent categories, measured from the moment the stuff sack opens to the moment the rain fly is fully tensioned.
The figures assume one adult working alone, on flat ground, with no wind and no instruction booklet.
They describe typical field experience with tents in the two-to-six-person range, not race-style pitching by trained crews.
First-time setup time by tent type (minutes)
The first pattern is obvious: pop-up tents dominate the speed end of the range because the poles arrive pre-bent and the fabric is already attached to the frame.
The catch is that folding a pop-up tent back down takes practice and a precise twist-and-fold sequence, which means setup speed does not automatically translate into overall convenience.
Inflatable tents remove pole assembly almost entirely, because the frame is formed by air beams that stiffen once inflated, and most models reach full working pressure in roughly five minutes with a hand pump.
Dome tents occupy the middle ground: their two or three crossing poles are easy to identify, and the clip-and-sleeve attachment is forgiving even for beginners.
Tunnel tents look simple but demand more care, because the long parallel poles must be threaded through fabric sleeves before the structure can stand, and a single twisted segment makes the whole arch difficult to align.
A-frame and ridge tents are slower because the pole ends must be seated precisely into pins or grommets, and the fabric tension does most of the structural work until the guylines are in place.
Cabin tents, with their vertical walls, straight ridges, and multiple pole segments, rank as the most time-consuming for one person, which is why larger models are usually pitched by two people.
Bell and canvas tents sit in a similar range, but their heavier material and the need to peg a full circle of tension points make physical strength a real factor.
The practical lesson is that setup time is not the same as setup difficulty: a dome tent takes roughly ten minutes and can be pitched in the dark, while a tunnel tent takes longer but rewards the effort with more headroom.
For solo campers, anything above fifteen minutes becomes a chore after a long day of hiking, which is why lightweight dome and quick-pitch designs are so popular.
For event crews and procurement teams, repack time matters just as much as pitch time, because a crew that sets up in five minutes but needs fifteen to pack down will still miss the schedule.
Tents with color-coded poles, pre-attached clips, and hubbed pole systems consistently cut both setup and repack time across every category.
That is the strongest argument for checking the pole and attachment system before buying, rather than judging a tent by floor area alone.
Key takeaway: Setup time is a design feature, not just a matter of practice; pole systems and attachment methods matter as much as floor area.
The five-step sequence stays the same, but each tent category has its own quirks. Knowing those quirks in advance is the difference between a calm pitch and one that ends with a bent pole. Here is how to handle the most common types.
Dome tents are the most popular family and backpacking design because the crossing poles create a self-supporting frame. Start with the pole that runs over the shortest dimension, bow it gently, and slide it through the sleeve or clip it to the webbing loops. Then cross the second pole over the first so the tent pops into shape. Because the dome is freestanding, you can lift and rotate it before staking if you want to adjust the door position. For a family trip, a self-standing geodesic family dome tent offers a solid balance of floor space, headroom, and wind resistance, and its self-supporting frame means you can reposition it before committing the stakes.
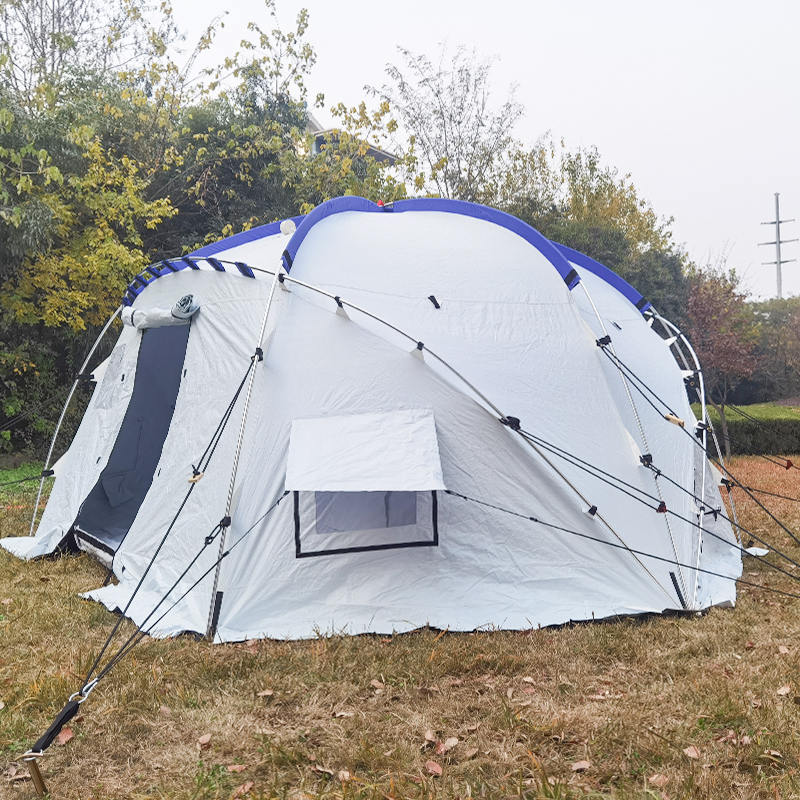 Geodesic Dome Tent 5-Person Self-Standing Geodesic Family Tent Suppliers, FactorMailenda is a China OEM/ODM Geodesic Dome Tent 5-Person Self-Standing Geodesic Family Tent suppliers and custom factory, Specification...View Product →
Tunnel tents build their space from two or three parallel arch poles, which gives them excellent headroom and a long, narrow footprint. The main risk is twisting a pole while threading the sleeve. Work from one end to the other, pushing rather than pulling the pole, and check each pole section for alignment before you start the next one. Once all arches are in place, stake the windward end first so the tunnel does not roll in a gust.
A-frame and ridge tents have a classic triangular profile and are usually made from heavy canvas or polyester. The frame typically consists of two upright end poles and a ridge pole across the top. Seat the ridge pole into the pins at the top of the end poles before tensioning the walls. Because the fabric carries much of the structure, the corner and side stakes must be driven firmly before the tent will look clean; if the walls sag, tighten the guylines before blaming the poles.
Cabin tents offer near-vertical walls and family-size interiors, but their multi-segment straight poles create many connection points. Assemble each pole section fully on the ground, then attach the fabric starting from the center and working outward. Do not force a pole into a sleeve that is twisted; smooth the fabric channel first. Larger cabins are genuinely a two-person job, so plan for that when choosing a site.
Bell tents and other canvas shelters use a center pole, sometimes with an optional ridge or door poles, and rely on a full circle of pegging points. Lay the canvas flat, peg the bottom edge around the full circumference before raising the center pole, then lift the pole and tension the canvas evenly. The fabric is heavy, so the center pole must be seated securely and the top cap aligned before you tension any single point. For car campers who value space and a classic look, a 3 m waterproof canvas bell tent provides a roomy interior and a straightforward center-pole pitch that one person can manage.
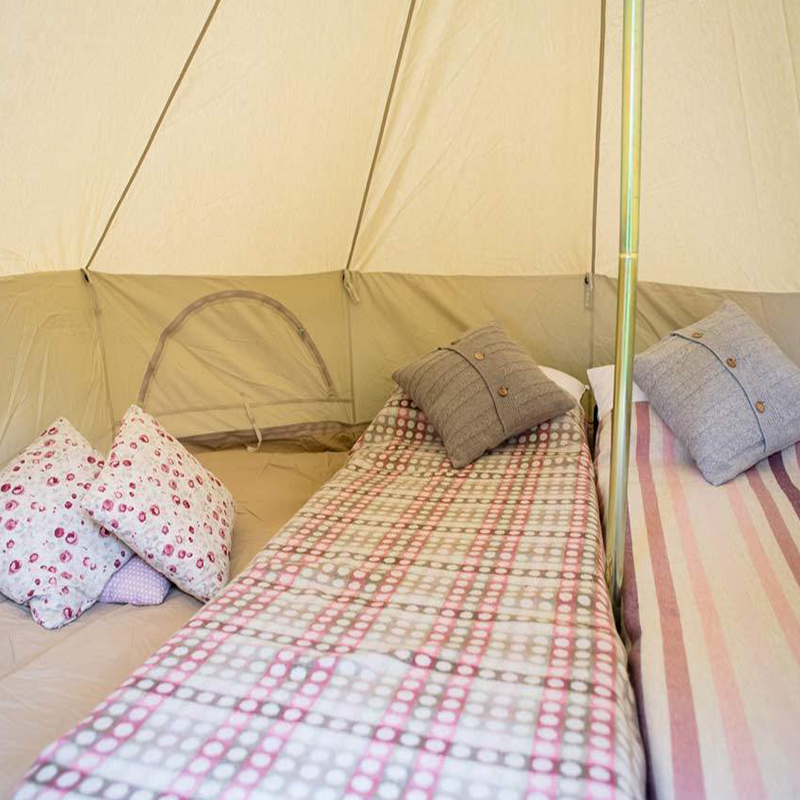 3m Standard Waterproof Bell Tent Camping Tent Suppliers, Factory - Yangzhou MailMailenda is a China OEM/ODM 3m Standard Waterproof Bell Tent Camping Tent suppliers and custom factory, Item No. BES03 Item Name 3m ...View Product →
Inflatable tents replace rigid poles with sewn-in air beams. Unroll the tent, stake the corners lightly, and inflate the beams in order, usually the center beam first, then the sides. Use the recommended pump pressure and check the valves for a snug seal before you start. The tent will not be fully stable until all beams are at working pressure, so keep kids and gear clear of the arches while pumping. For groups that want speed without bending poles, an eight-to-ten person waterproof inflatable air tent is an increasingly popular choice in both family camping and emergency shelter programs.
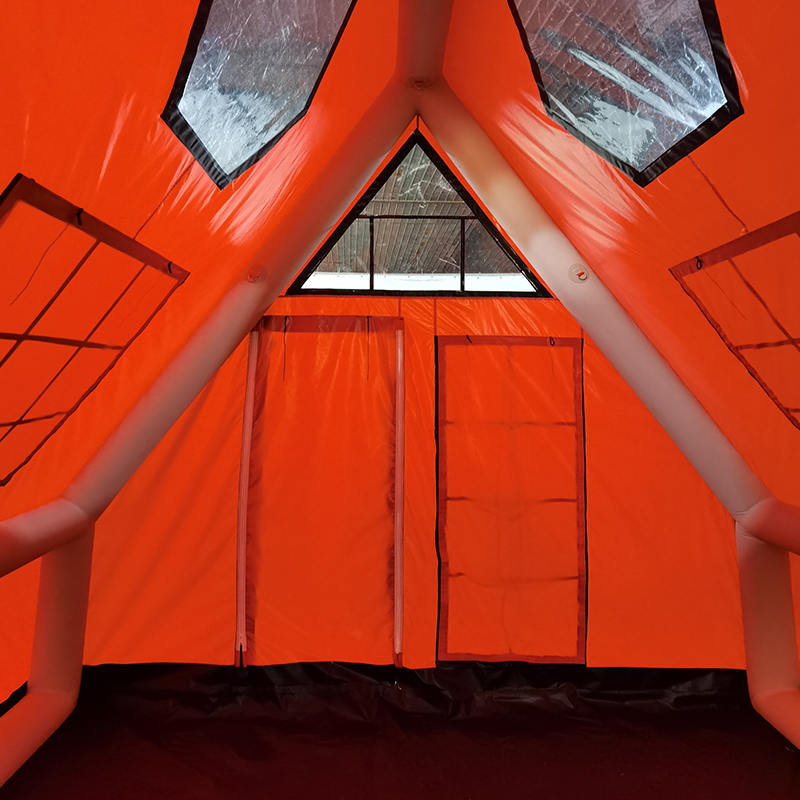 8-10 Person Four Season Waterproof Inflatable Air Tent for Camping Suppliers, FaMailenda is a China OEM/ODM 8-10 Person Four Season Waterproof Inflatable Air Tent for Camping suppliers and custom factory, Item No. ...View Product →
| Tent type | Pole system | Solo pitch time | Main challenge |
|---|---|---|---|
| Dome | 2-3 crossing poles | 8-12 min | Matching pole ends to sleeves or clips |
| Tunnel | 2-3 parallel arched poles | 12-18 min | Threading long sleeves without twisting |
| A-frame | 2 end poles + ridge pole | 10-15 min | Seating pins and aligning heavy fabric |
| Cabin | Multi-segment straight poles | 15-25 min | Many connection points, heavy walls |
| Bell / canvas | 1 center pole + optional ridge | 15-25 min | Pegging full circle, fabric weight |
| Inflatable | Air beams, no rigid poles | 4-8 min | Pumping evenly to full pressure |
| Pop-up | Pre-bent frame, attached | Under 2 min | Folding it back into the bag |
Key takeaway: Choose the tent type that matches your setup skill, trip style, and tolerance for heavy or complex hardware.
These three conditions are where most tent setup techniques break down. Each requires a small adjustment to the five-step sequence rather than an entirely new method.
When you are pitching alone, the trick is to stop fighting gravity and let the tent help you. Unzip the door and any vents before raising the poles so air can escape. Use a heavy object or your backpack to hold one corner down while you move to the opposite corner. For a dome, raise both poles and set the free ends into the corner clips before staking anything; the frame will hold the tent up on its own. If the wind grabs the fabric, stake the windward corner first and pull the tent toward the stake as you work around.
In a breeze, every loose panel becomes a sail. Stake the windward corners immediately after raising the frame, before you bother with the fly. Add guylines early, and use the extra guy points even if the sky is clear; wind does not need rain to damage a tent. On exposed ground, place rocks or logs on the stake heads where the soil refuses to hold a peg, and check the tension once more before bedtime.
In rain, the goal is to keep the inner tent dry. If your tent allows a fly-first pitch, set up the rain fly alone, then crawl underneath to clip the inner body. If not, unpack the inner tent under the fly or under a tarp, pitch it quickly, and cover it with the fly before the fabric soaks through. Wipe down the inner walls before packing the next morning, because a tent packed wet will mildew within days.
Wind priorities
|
Rain priorities
|
Key takeaway: In wind, stake fast and guy early; in rain, protect the inner tent; alone, let the frame do the lifting.
Most setup problems are not caused by bad tents; they are caused by repeatable mistakes. Fix these seven and you will pitch faster, sleep drier, and repair fewer broken parts.
Key takeaway: Most setup failures come from tension and staking errors, not from the tent itself; correct stake angle and even tension solve the majority of them.
A tent that is packed carefully will also pitch carefully. Campers who stuff a tent back into its sack without drying or folding it are creating the very tangles and creases that slow down the next setup.
Never store a tent wet. Wipe the fly and floor with a cloth, shake off loose dirt, and set the tent up briefly in the sun or hang it over a line. If you must pack in wet weather, roll the tent as dry as possible and at the first opportunity, unpack it fully to air out. Mildew does not just smell; it breaks down the waterproof coating and the fabric strength.
Fold the tent body in long, loose strips along its natural creases rather than forcing it into a tiny rectangle. Lay the rain fly on top, then wrap the poles in their bag or roll them inside the folded tent so they do not poke through. A little air left in the stuff sack is better than a compressed brick; tight compression damages zippers and coatings over time.
Wipe the pole sections clean before sliding them together, and check the shock cord for fraying once a season. Keep zippers free of sand and dirt, and pull them gently along the track rather than yanking at an angle. Inspect the guylines and stake loops for wear after trips on rough terrain, and replace anything frayed before your next outing. A five-minute inspection at home saves a ruined night at the campsite.
Key takeaway: A tent that is dried, folded, and inspected after every trip will pitch faster, seal better, and last for years.
As a tent manufacturer and supplier, we see the same buying mistake repeated in both retail and wholesale orders: buyers compare floor area and price first, then discover at the campsite that the pole system is a nightmare. Setup ergonomics should be part of the spec sheet, especially when you are purchasing for an event company, a family brand, or a government relief program where every minute of deployment counts.
The quick-pitch features below are worth paying for whether you are buying one tent or a container load. They reduce training time, crew fatigue, and the risk of damage during handling.
Poles are marked to match the sleeves or clips they belong to, eliminating guesswork on the first pitch.
Quick-release clips replace long sleeves on many models, letting the body attach to the poles in seconds rather than minutes.
Several pole segments meet at a central hub, turning a complex frame into one or two large units that lock out quickly.
Inflatable tubes replace rigid poles entirely, which removes the risk of snapping a pole and speeds up a large tent significantly.
Guy lines come attached and pre-measured with toggles, so the camper only stakes them out at the correct angle instead of tying knots.
For wholesalers and importers, working directly with a factory that produces tents under international organization standards simplifies quality control, packaging, and logistics. A supplier that documents fabric specifications, pole materials, and assembly tolerances makes it far easier to sell a tent that customers can pitch without a support hotline.
Key takeaway: Evaluate a tent's pole system, fly attachment, and guylines before you buy; these determine how easy it is to pitch and repack over a long service life.
These are the questions first-time campers ask most often, answered in the same order you would encounter them at the campsite.
How do you put up a tent step by step?Choose a flat, well-drained spot; unpack the tent and identify all parts; assemble the poles; raise the frame and attach it to the fabric; stake the corners at a 45-degree angle; then install the rain fly and tension the guylines evenly. This five-step order works for dome, tunnel, cabin, bell, and inflatable tents with only small adjustments. |
Which type of tent is easiest to set up?Pop-up tents are fastest to open, and inflatable tents are the easiest for most people because they remove pole assembly entirely. Among traditional pole tents, a simple dome with two crossing poles and clip attachments is the most forgiving for beginners. |
How do you put up a tent by yourself?Open the door and vents before raising the frame so air does not fight you. Raise both poles of a dome tent, seat the free ends into the corner clips, then stake the windward corner first. Use your backpack or a log to hold one side down while you move around to the other side. |
Which way should a tent face when you pitch it?Orient the narrow end of the tent into the prevailing wind and put the door on the sheltered side. In cool weather, angling the door toward the morning sun makes breakfast more comfortable; in hot weather, prefer shade and maximize airflow through the mesh. |
Do you really need to stake a tent?Yes, stakes keep the tent from sliding and the poles from twisting under wind load. On sand, use sand stakes or fill stuff sacks with sand and tie them to the guy loops; on rock, weight the stakes with stones or use adhesive-style anchors. |
Should you use a footprint or tarp under the tent?A footprint protects the floor from punctures and extends the tent's life, but it must be the right size. If the footprint is larger than the tent floor, rainwater collects on it and runs underneath; trim or tuck it so nothing extends beyond the walls. |
Can you put up a tent in the rain?Yes, but protect the inner tent. Use a fly-first pitch if the tent supports it, or raise the inner tent under a tarp. Dry the tent thoroughly at the first opportunity, because packing it wet leads to mildew and coating damage. |
Key takeaway: The fundamentals, flat site, open vents, 45-degree stakes, even tension, and a protected inner tent, answer most setup questions before they become problems.
If you want to go deeper into tent construction, materials, and selection, these three articles are the natural next step. They cover the technical side of camping tents, the specific features of family shelters, and a closer look at the inflatable category that continues to grow in both recreational and emergency markets.
Key takeaway: Understanding materials, family-oriented design, and inflatable beam technology will make your next tent purchase easier and your next pitch even faster.
Related Products

Our story is about how to uphold the spirit of humanitarianism in the face of disaster, how to find solutions amidst challenges, and how to sow hope in despair.
Copyright © Yangzhou Mailenda Outdoor Products Co., Ltd.
All Rights Reserved.
Custom Tent OEM/ODM Manufacturers


